

Creating a Custom Minecraft Skin: A Step-by-Step Guide
Minecraft, a game notable for its blocky visuals and boundless opportunities for creativity, has captivated millions of players around the globe. One of the most personalized aspects of Minecraft is the ability to create and use custom skins. These skins determine how your character looks in the game, allowing players to add their unique flair to their gaming experience. This guide will walk you through the process of creating your own Minecraft skin, step by step, from conception to implementation in the game.
Understanding Minecraft Skins
Minecraft skins are essentially very small PNG images laid out in a specific format. A standard Minecraft skin is usually 64×64 pixels, and it wraps around a predefined model. Each area of the image corresponds to a different part of the character’s body. With the updates in recent years, skins can now allow for different layers on different body parts, enhancing the depth and complexity of character appearances. As of the latest figures, there are over 10 million custom skins available, created by users worldwide.
Step 1: Find Inspiration for Your Skin
The first step in creating a custom skin is deciding what you want it to look like. Inspiration can come from anywhere: your favorite characters in movies, books, TV shows, or even your real-life style. Some players choose to represent roles (like knights or wizards) while others opt for more whimsical or abstract designs.
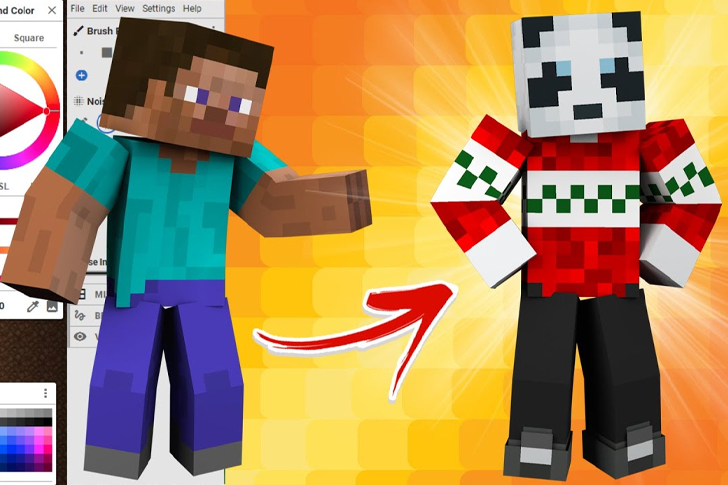
Step 2: Choose a Skin Editor
Once you have a concept in mind, the next step is to choose a tool to create your skin. There are several free and paid skin editors available online that are designed specifically for Minecraft skins. Examples include Skindex, NovaSkin, and SkinCraft. These tools are user-friendly and equipped with intuitive interfaces that are accessible even for beginners. They also provide a live 3D preview to see how your skin looks on a model as you design it.
Step 3: Crafting Your Skin
With your editor selected, it’s time to start designing. Begin by selecting a blank template or starting from an existing skin that you can modify. Skin editors typically provide drawing tools such as pencils, brushes, and fill tools to make the creative process easier. It’s important to zoom in and work pixel by pixel to ensure your design is crisp and precise.
Step 4: Save and Test Your Skin
After you’re satisfied with your custom skin, save it to your computer. Most skin editors offer a ‘download’ button, which will provide you with the PNG file needed for Minecraft. To test how the skin looks in the game, you can load up Minecraft, go to the main menu, select ‘Skins’ and upload your new skin file. This step is crucial as it allows you to see your design in full 3D and check for any edits that might be needed in context with the game’s environment.
Step 5: Implementation and Sharing
Once you’re happy with how your skin looks in the game, you’re ready to use it. Minecraft allows for easy skin changes through its profile page on the Minecraft website or directly in-game via the skin selection menu. If you’re proud of your creation, consider sharing it on social media or Minecraft skin websites like Minecraftskins.com, where others might also enjoy your design.
Best Practices and Tips
When designing skins, consider the visibility of color changes and how different parts of the skin can fold and overlap in three dimensions. Lighter colors often stand out more, whereas details can get lost in darker colors. Additionally, be mindful of the resolution; since skins are small files, high-resolution detail isn’t always necessary and can complicate your design.
Another tip is regularly backing up your skins and keeping the PNG files organized so you can revisit or revise them anytime. Players frequently adjust their skins based on seasons or special Minecraft events, keeping their appearances fresh and engaging.
Conclusion
Creating your own Minecraft skin is an excellent way to add personalization to your gaming experience. With the right tools and a bit of creativity, anyone can design something unique and memorable. Whether you aim to express your personality or emulate your favorite character, custom skins extend the playful spirit of Minecraft beyond the game world into the real-world community of players. Start designing today and make your mark in the expansive world of Minecraft!


Recent Comments